


Let's Get Started
For This Project You'll Need
- Air Dry Clay
- A small bowl. I used a 4 inch bowl for this project.
- Martha Stewart's Multi-Surface Glitter Paint in Antique Silver and Florentine Gold or pick your favorite colors
- Black or white acrylic craft paint or both
- A paint brush
- A rolling pin
- A knife or a clay cutting tool
- A piece of sandpaper or a sanding sponge


Instructions
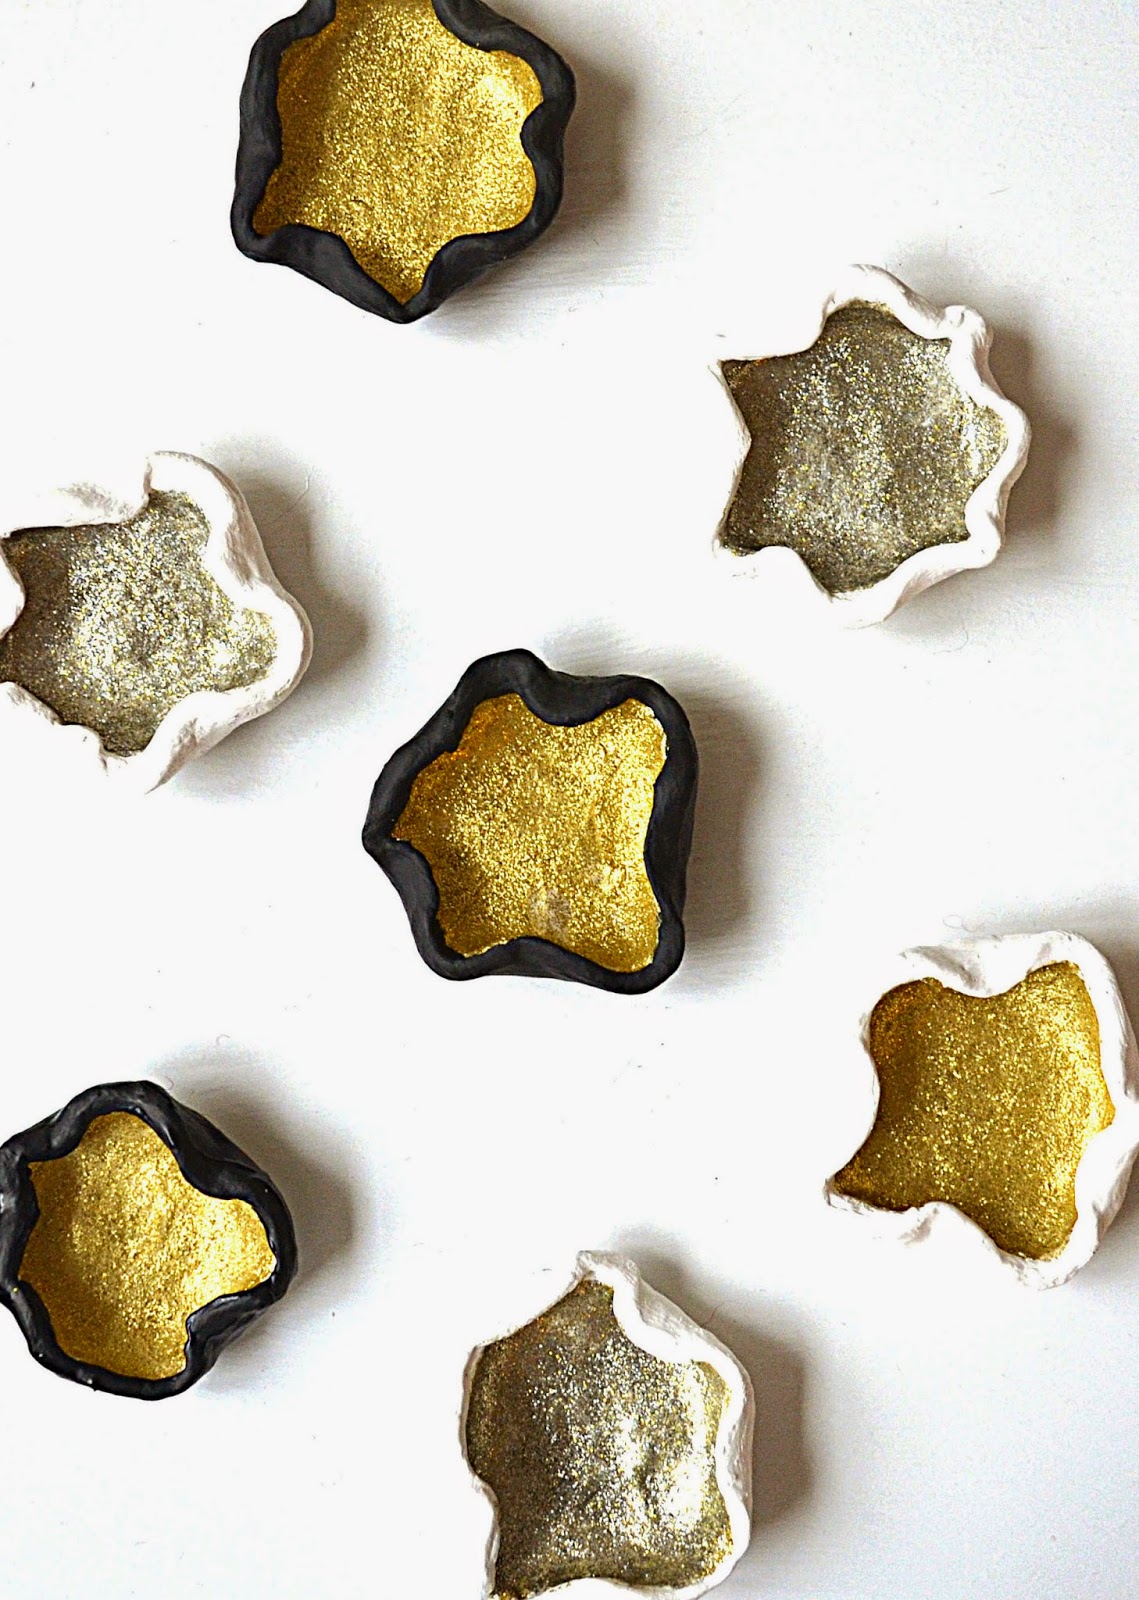
Take a large chunk of air dry clay and roll it into a ball. Flatten the ball on a smooth surface. Use a rolling pin to roll it out into a circular shape that's a little bigger than the bowl you're using. Don't roll the clay out too thin. You want a sturdy bowl. Use the bowl and clay cutting tool to cut the clay into a circle. Gently turn the edges of the clay circle inward, forming a free-form bowl shape. If the edges seem jagged, smooth them with your fingertips. It may help to wet your fingertips with a little water. Have fun and don't worry about making mistakes. This project is very forgiving. You will use the sandpaper to smooth out the edges once the clay is dry. Place the clay bowl on a clean surface and let it dry overnight. It may take longer to dry. My bowls took about 48 hours to dry.
Once the bowls are fully dry, use the sandpaper to smooth out the rough edges. Brush the dust off with your paintbrush. Rinse the paint brush and pat dry. Paint the inside of the bowl with any color of Martha Stewart Glitter Paint. The shine comes through once the paint has dried. My bowls took three coats of glitter paint to achieve maximum sparkle. Paint the outsides of the bowls with black or white paint. My bowls took three coats of black or white paint. Remember to make sure the clay is completely dry before painting them.
Tip: Store any extra unused clay in a well sealed bag or container with a damp paper towel on top of the clay so it doesn't dry out.
Tip: Store any extra unused clay in a well sealed bag or container with a damp paper towel on top of the clay so it doesn't dry out.
Happy Crafting!
These are great! I bet you could make some really cute candles too!!! :)
ReplyDeleteThanks Anna! I was thinking of making candles soon. I love your blog! Beautiful photos! Thanks for visiting mine! 😉
Delete